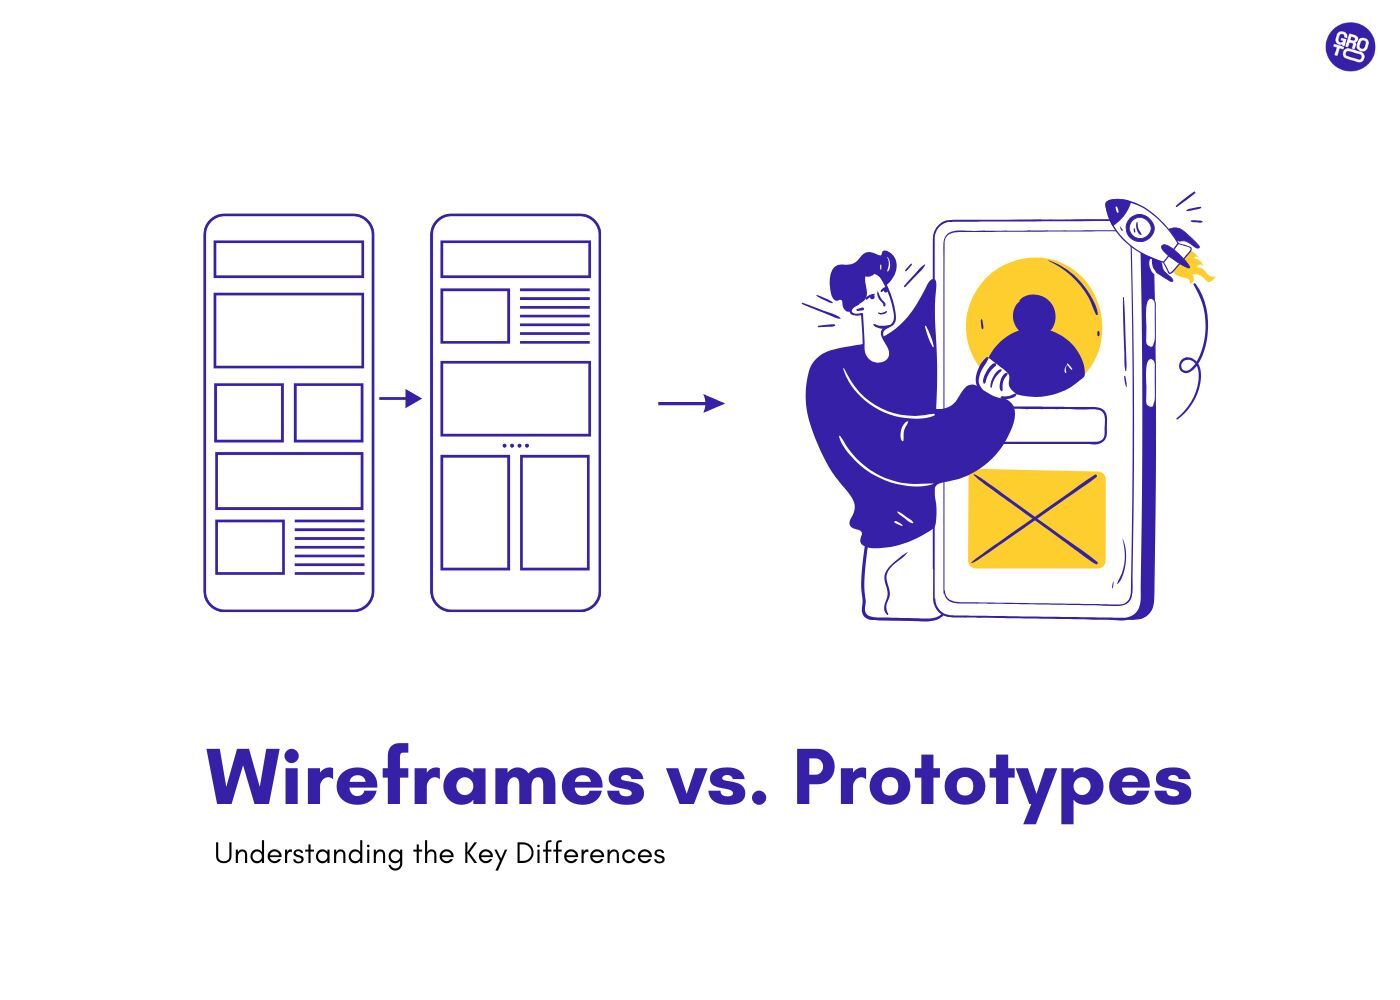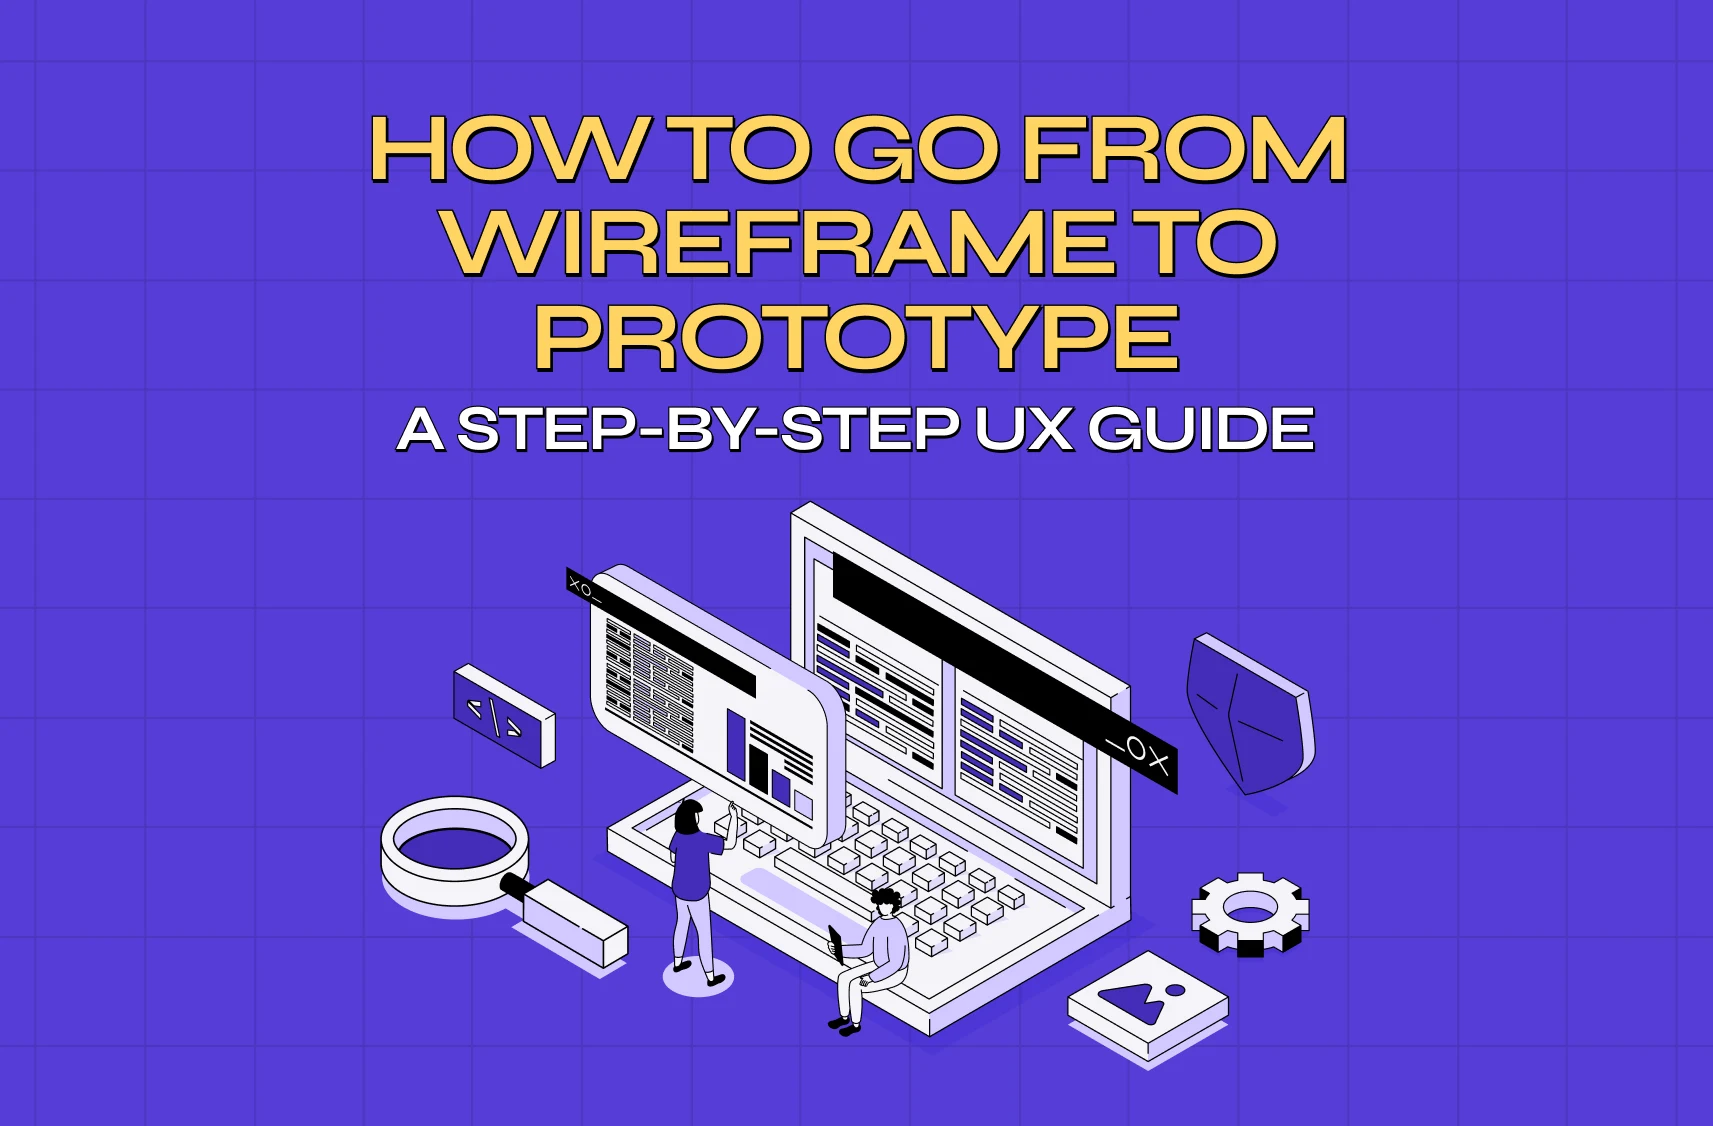
Moving from wireframe to prototype isn’t just a visual upgrade — it’s a shift from structure to behavior. This guide walks through a clear, practical UX process to turn static layouts into testable, user-validated experiences.
Wireframes define structure. Prototypes test behavior. This guide shows how to bridge both.
Transitioning from a wireframe to a prototype is one of the most pivotal moments in the UX process.
Wireframes help you define structure and intent, while prototypes help you validate flow, interaction, and user understanding before investing in high-cost engineering.
In this guide, we’ll cover:
What each artifact really means (wireframe vs mockup vs prototype)
A clear wireframe to prototype process
Practical steps for converting wireframes into testable prototypes
Tips to reduce rework and increase usability before development
Wireframe vs Mockup vs Prototype: What’s the Difference?
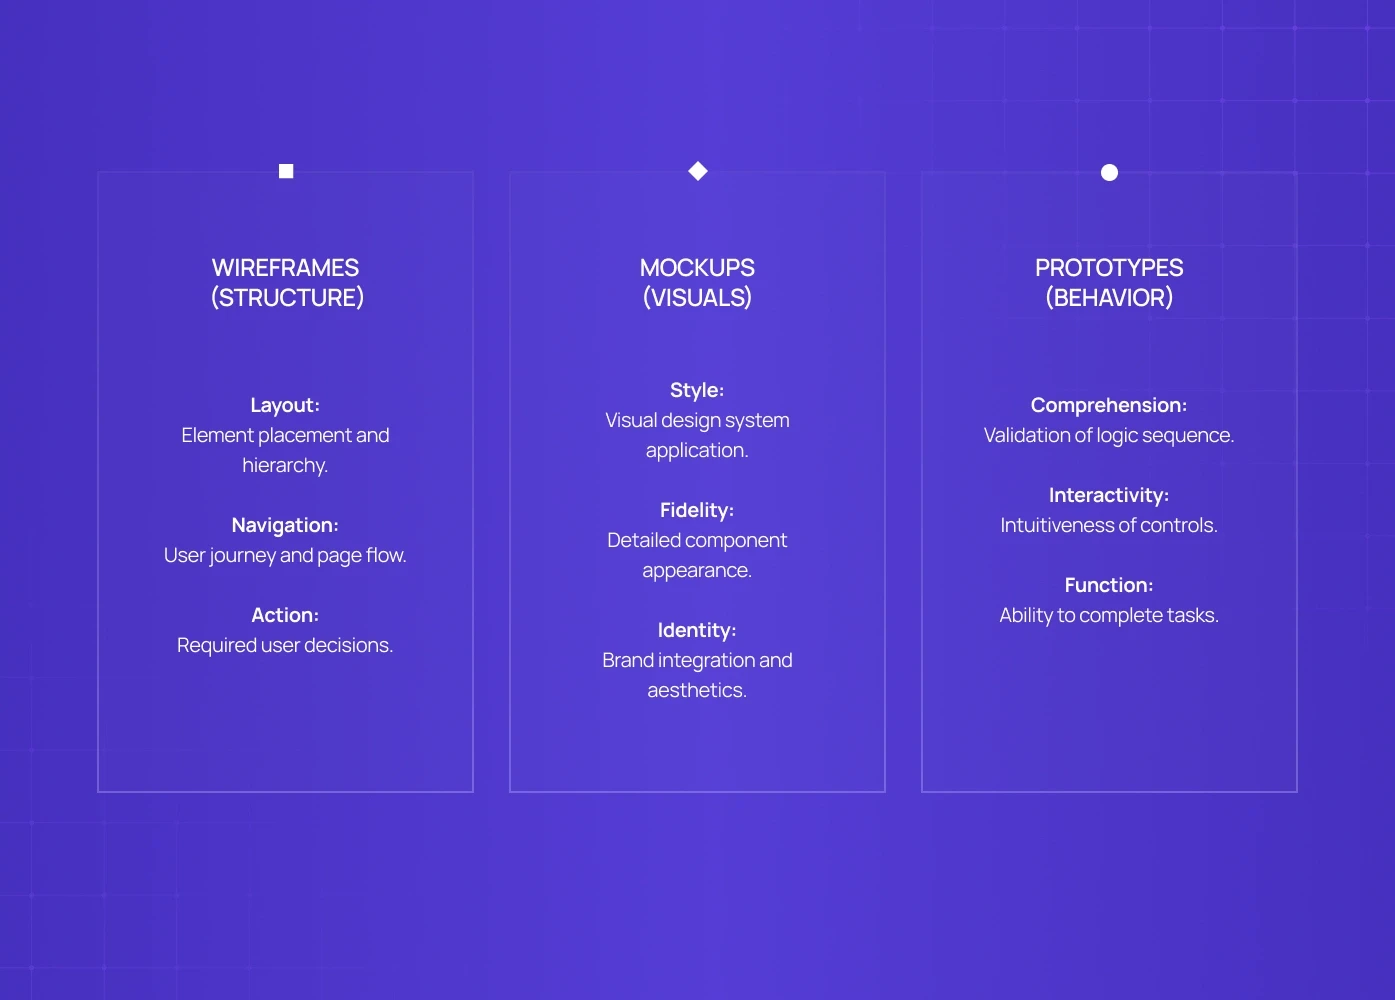
Before you convert anything, you need clarity on what you’re building.
Wireframes
Low-fidelity, structural outlines showing layout, hierarchy, and basic interaction zones. Think of them as UX skeletons.
They answer:
What elements go where?
What is the page flow?
What decisions are we asking the user to make?
If those questions feel unfamiliar, low-fidelity wireframe fundamentals cover the thinking and creation process before any transition to prototyping begins.
Mockups
High-fidelity, static visual designs that show how the interface looks. Mockups refine typography, color, spacing, and visual language, but they’re not interactive.
They answer:
What is the visual design system?
How do components appear?
How does branding integrate?
Prototypes
Interactive simulations of finished flows — clickable, scrollable, and usable like a real product. Seeing a range of prototype examples across products makes the jump from static wireframe to interactive model concrete.
They answer:
Does the user actually understand the sequence?
Are interactions intuitive?
Do flows support task completion?
This distinction matters because the wireframe vs prototype decision in UX is not just a visual upgrade — it's a shift from structural thinking to behavior thinking, and getting that sequence wrong costs more in rework than skipping the prototype step entirely.
The Wireframe to Prototype Process: Step by Step
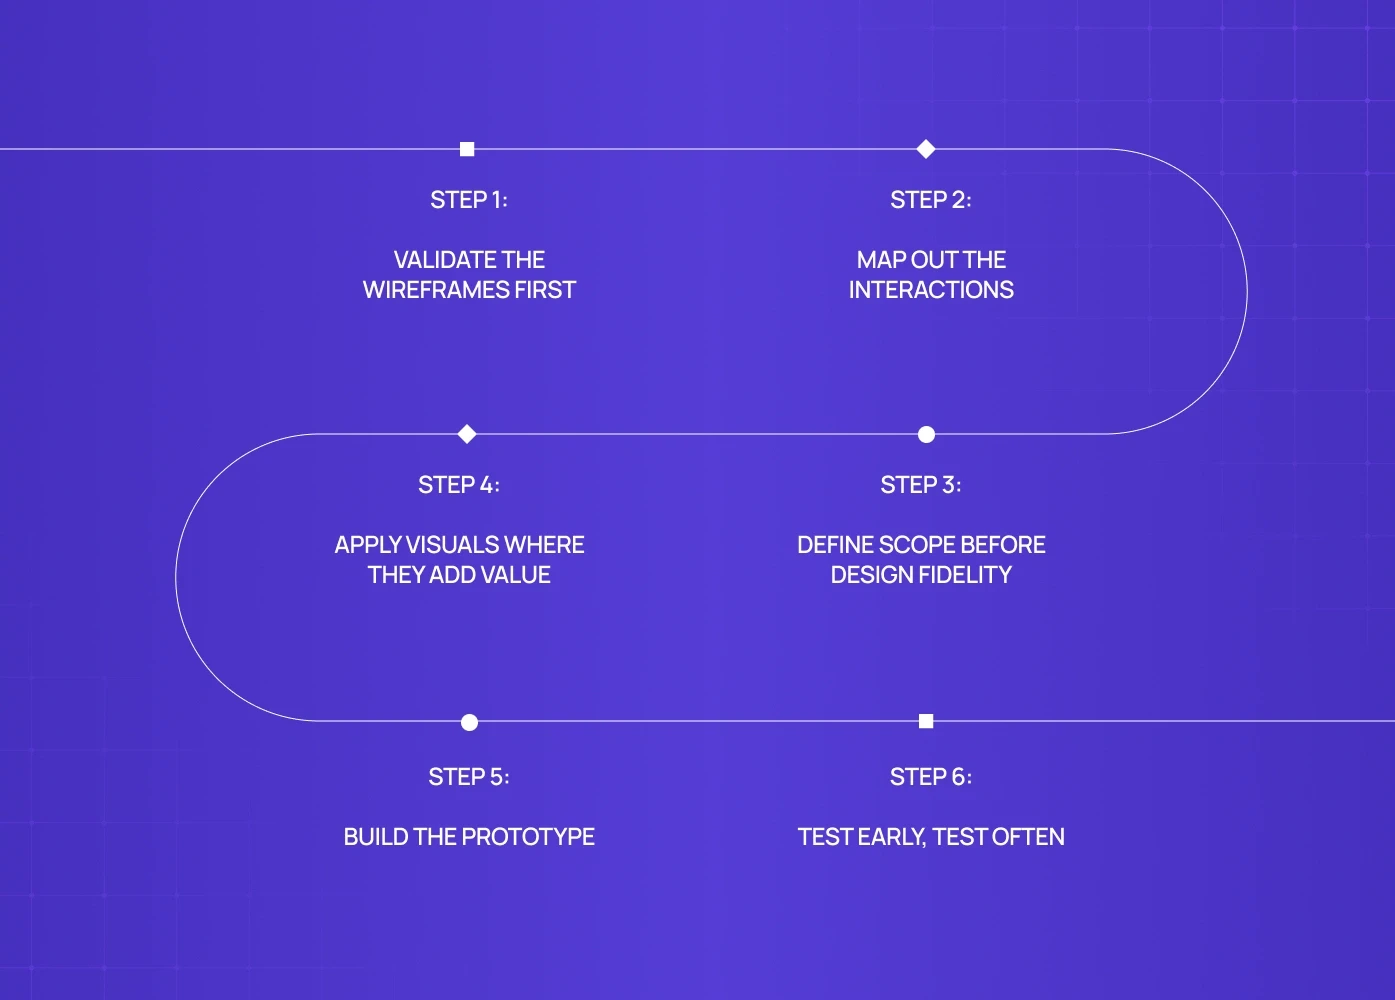
Here’s the practical path most teams follow.
Step 1: Validate the Wireframes First
Before any visuals:
Review your wireframes with stakeholders
Check if the logic aligns with business goals
Confirm that the hierarchy reflects user intent
Questions to ask:
Does this flow support the primary user task?
What assumptions are we making?
Where might users hesitate?
Teams asking these questions for the first time often benefit from understanding what is design thinking — the structured methodology that frames assumption-checking and user-intent validation as a disciplined process rather than an informal review step.
Wireframes should be cheap to change. Identify ambiguity early — and if your product already has live screens alongside these wireframes, knowing UX audit cost helps teams decide whether a structured audit of existing flows is worth running before the prototype stage locks in assumptions.
Step 2: Map Out the Interactions
For every wireframed screen, list the expected user actions:
Screen | Expected Action | Next Screen | Success Condition |
Tap Get Started | Sign-Up | Shows sign-up form | |
Sign-Up | Enter email | Next step | Field validation |
Feature List | Tap Item | Item Detail | Item detail view |
This activity makes the invisible — decisions — visible. It becomes the blueprint you’ll use when you actually build the prototype.
Step 3: Define Scope Before Design Fidelity
Don’t leap into mockups immediately.
A common mistake in the wireframing to prototyping transition is over-designing too early.
Decide:
Which flows need fidelity first?
Which screens can remain low-fi during testing?
Which micro-interactions matter for validation?
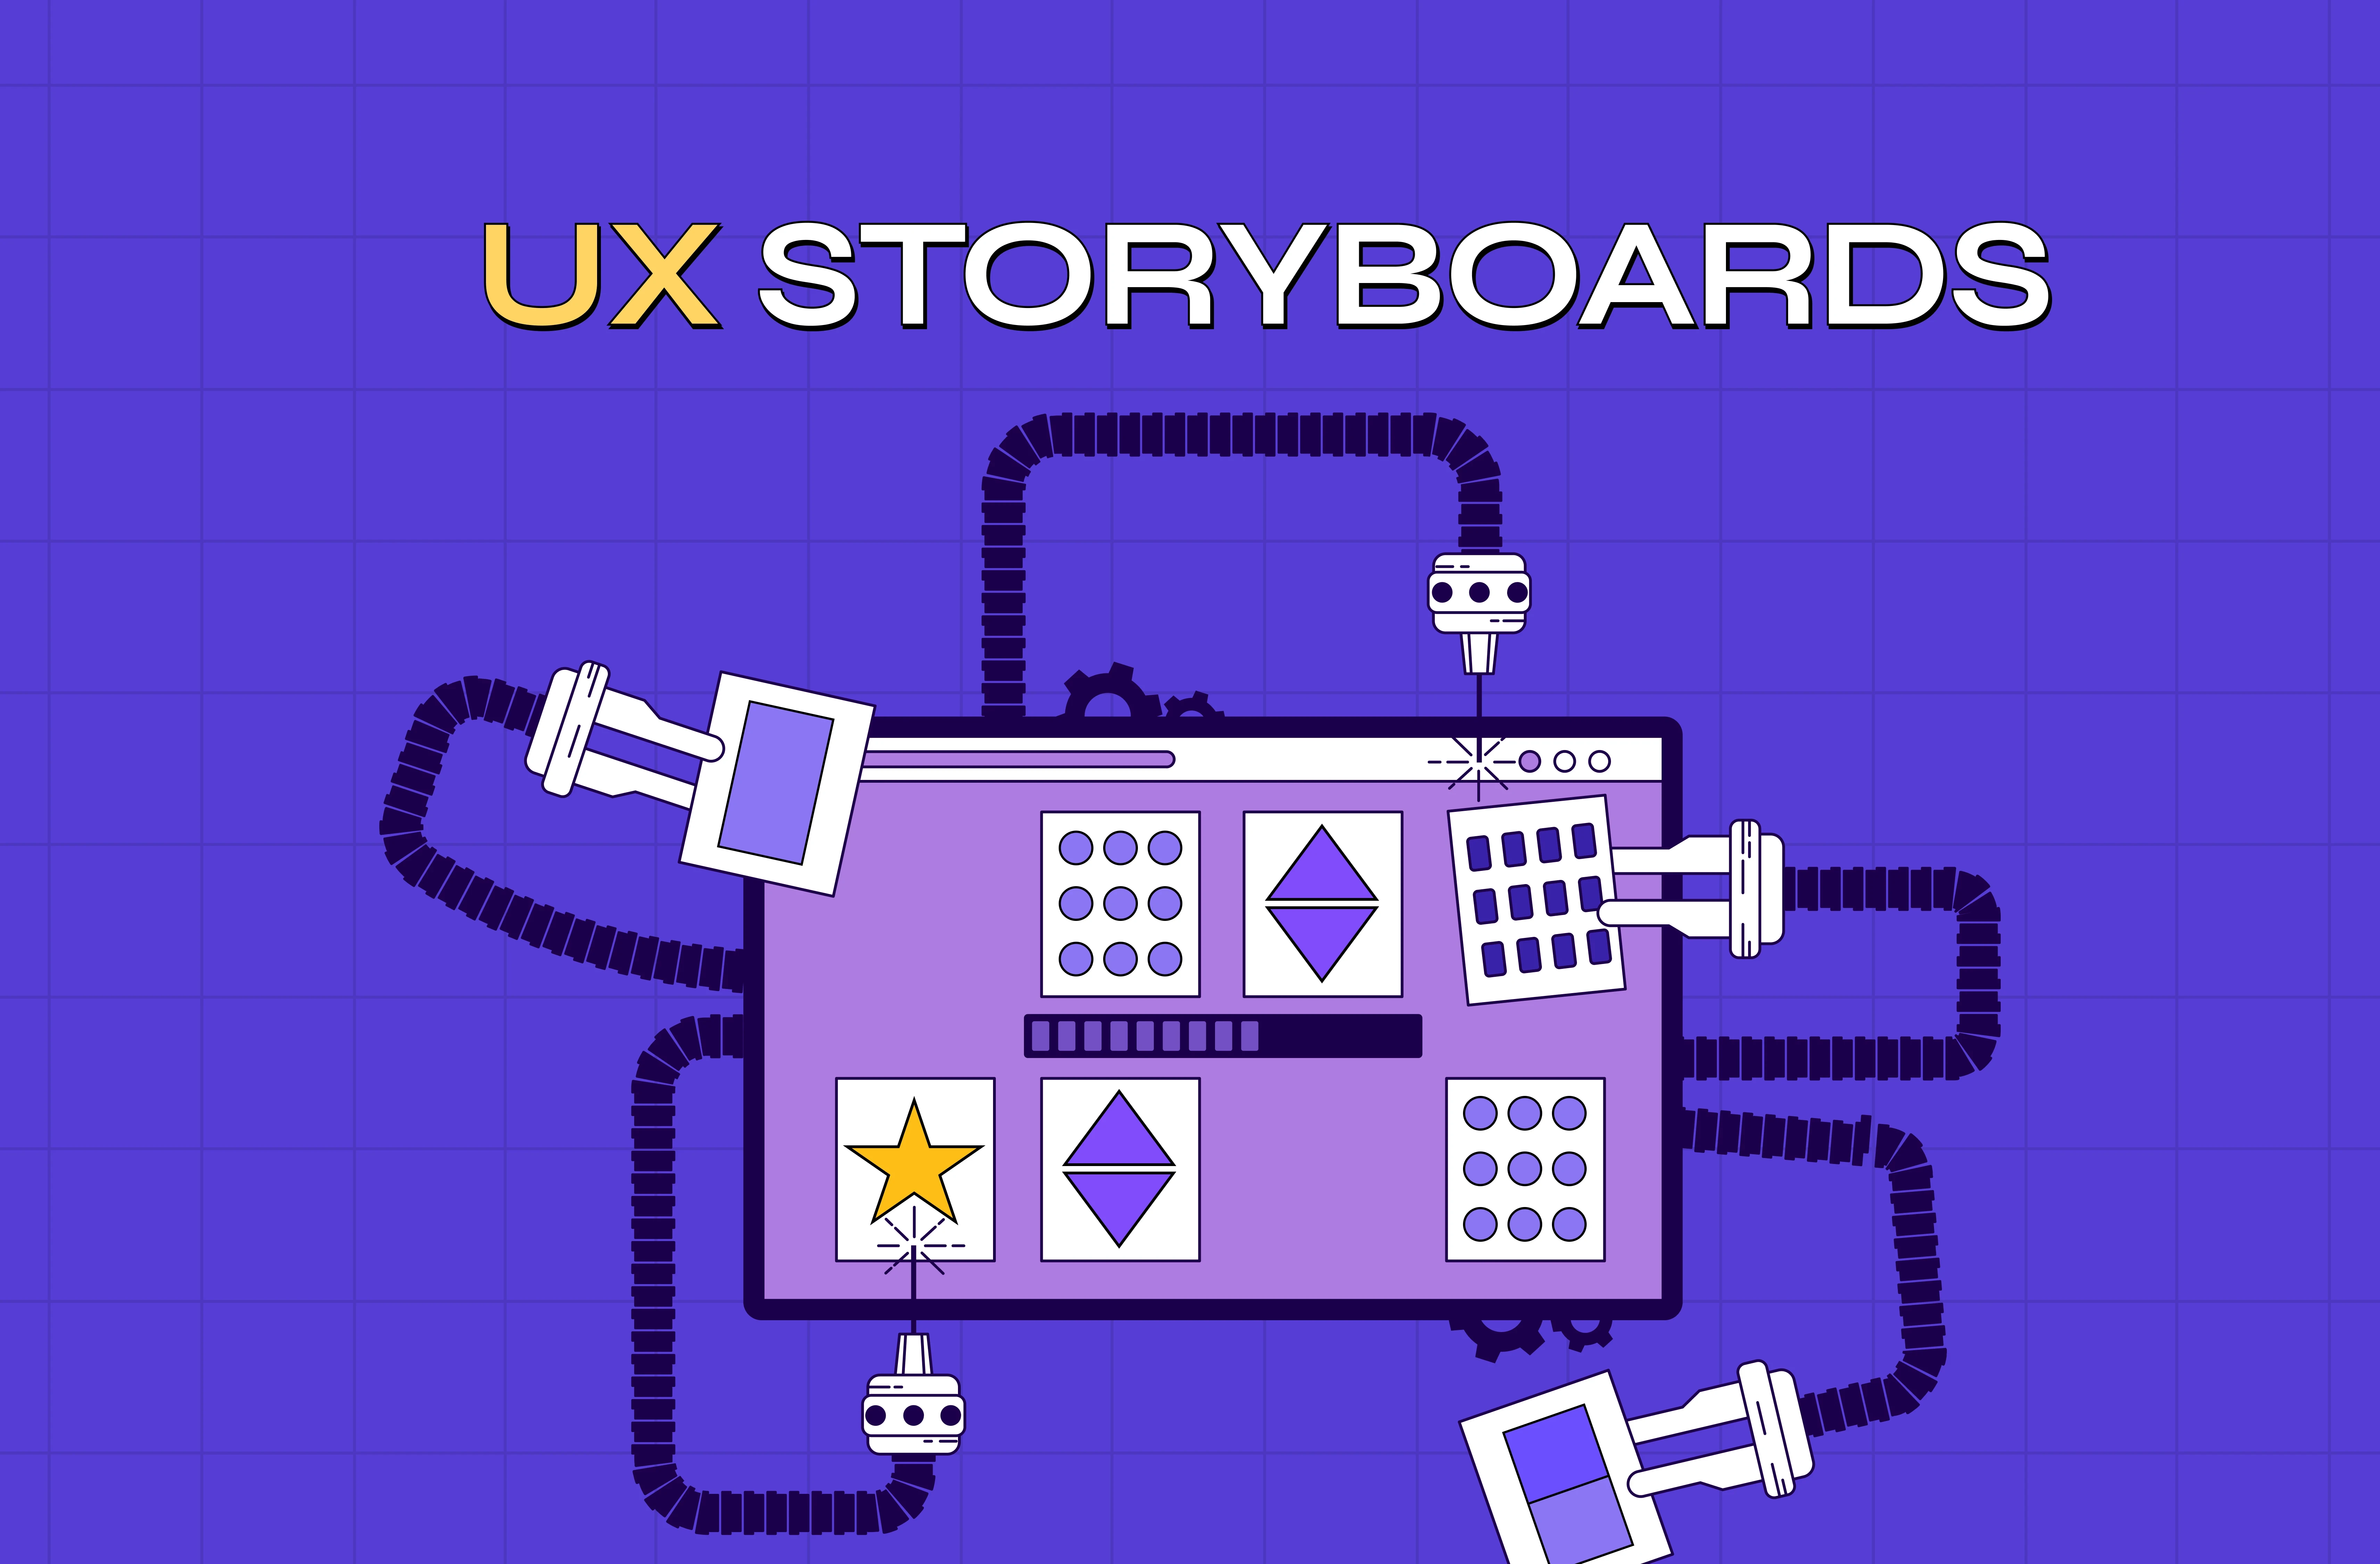
This prioritization reduces wasted effort. Teams that build UX storyboards before making these decisions often find scope becomes clearer because the narrative structure surfaces which flows carry the most user-facing weight.
Step 4: Apply Visuals Where They Add Value
Once the flows are confirmed:
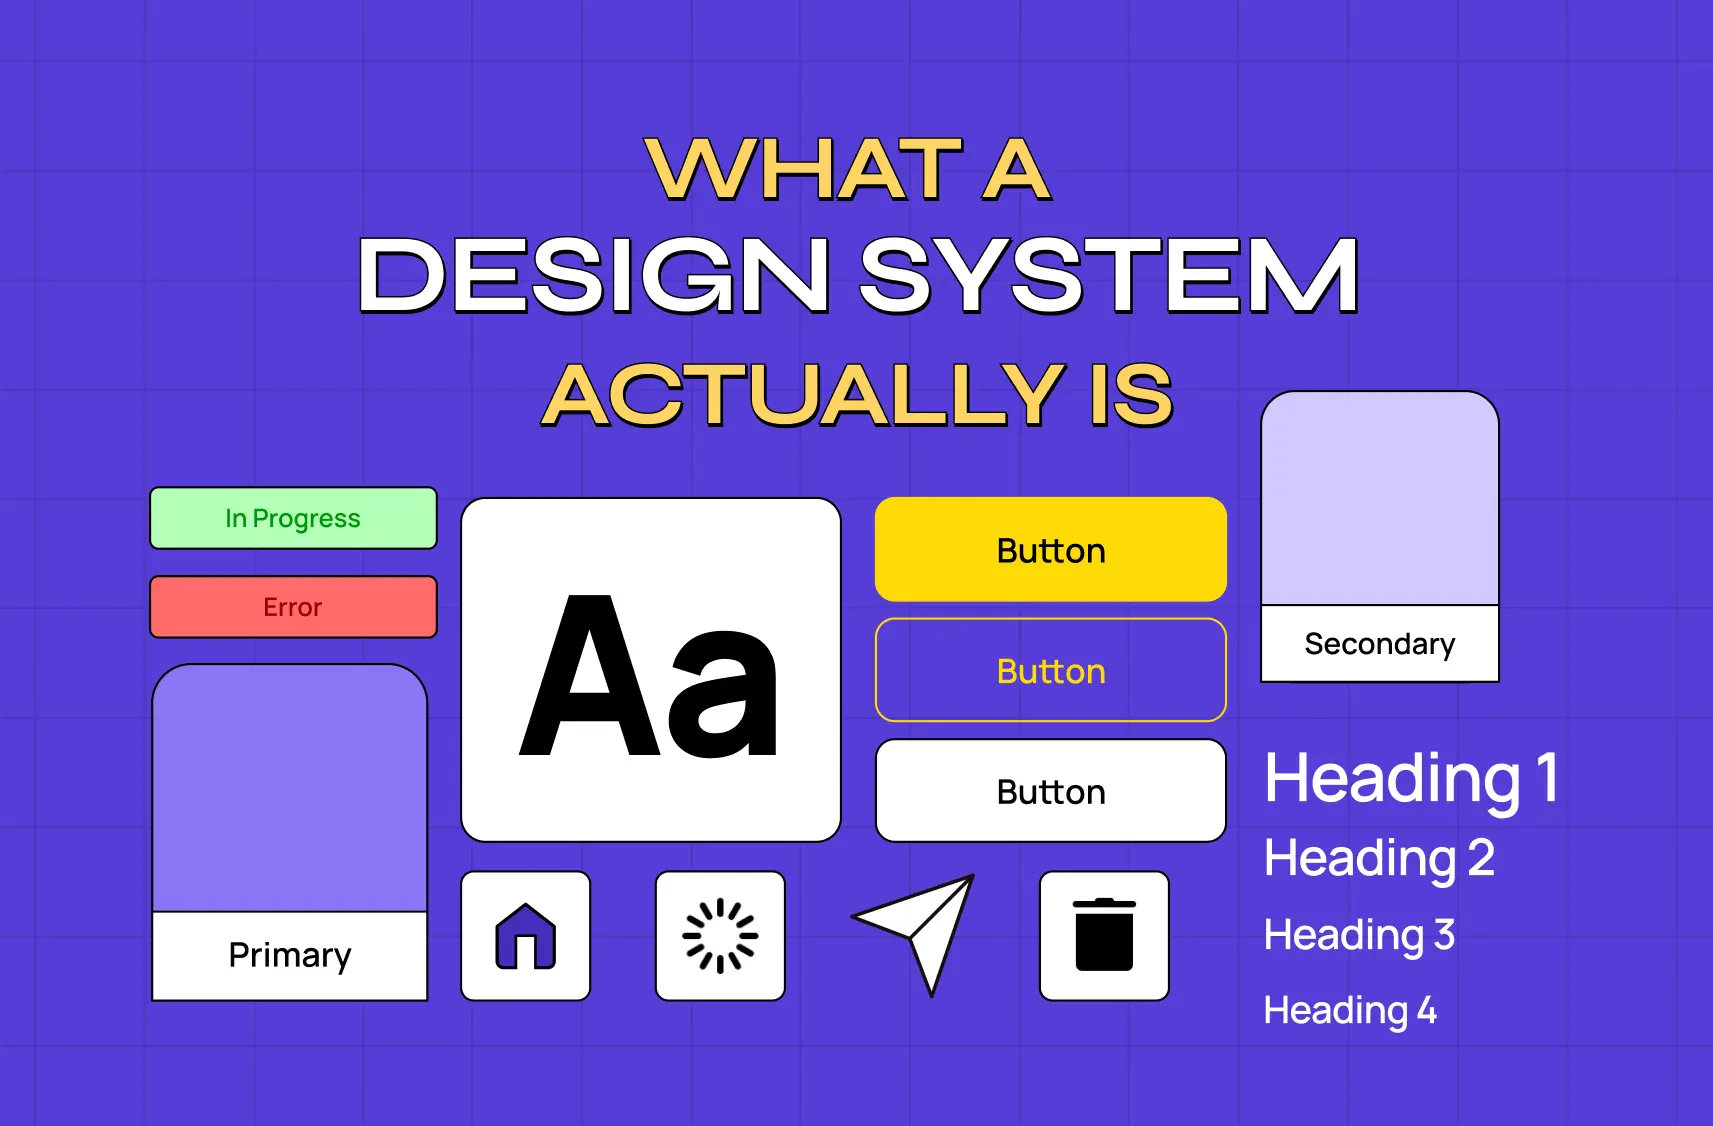
Bring in color, type hierarchy, spacing, icons
Apply your design system
Keep visuals consistent with your brand and product patterns
At this stage, you’re technically moving toward mockups - but only for the elements that will matter in testing.
Remember: visuals that don’t affect behavior should not slow down interaction testing.
Step 5: Build the Prototype
Now convert your wireframes (with visual context) into an interactive prototype.
How to do this depends on your toolchain, but the core idea is:
Make the experience feel real enough that users forget they’re testing a prototype.
Prototype characteristics:
Clickable navigation
Functional inputs
Conditional flows (e.g., show error on empty field)
Feedback (highlights, transitions, confirmations)
At this point, you're not building production code — you are simulating the experience. And understanding UX prototype benefits and best practices ensures that simulation is structured well enough to generate reliable insights rather than just a clickable version of your wireframes.
Step 6: Test Early, Test Often
Use the prototype to:
Validate task success
Observe hesitation or confusion
Capture time-to-task metrics
Testing methods:
Remote unmoderated tests
In-person moderated sessions
Guerrilla usability tests
Your goal at this stage is understanding user behavior, not getting perfect UI.
This is the heart of the wireframe to prototype process — you’re validating intent and interaction before dev.
Practical Tips for the Wireframe → Prototype Journey

Below are insights that make the transition smoother and more reliable.
1. Don’t Prototype Everything at Once
Start with your core conversion paths. Prototype them first.
This keeps early testing focused and productive.
2. Prototype at the Right Fidelity
Too low and users think “it’s not real.”
Too high and you waste design hours before knowing if flows work.
Balance fidelity with testability.
3. Use Annotations for Ambiguous Areas
When handoffs to developers or stakeholders happen, note expected behavior:
Tap outside modal closes modal
First error message priority
Delay before auto-suggest appears
These annotations reduce miscommunication later, and documenting the design handoff properly turns that habit into a repeatable step rather than something each designer improvises project by project.
4. Prototype Error and Edge States
Don’t ignore states like:
form errors
empty data screens
slow network
These are where real users feel friction.
5. Involve Engineers Early
Early developer input helps you prototype patterns that are feasible and performant.
This usually shortens the dev timeline later.
Converting Wireframe to Mockup: When and Why
Sometimes teams want a mockup step between wireframe and prototype.
You do this when:
visuals matter for buy-in
branding needs early validation
design system patterns are unsettled
But a mockup alone will not answer interaction questions.
Treat mockups as supportive artifacts, not the end goal — and understanding high-fidelity wireframes before prototyping helps teams decide exactly when visual fidelity adds enough value to justify the time investment before interaction testing begins.
Challenges in Wireframing to Prototyping: And How to Avoid Them
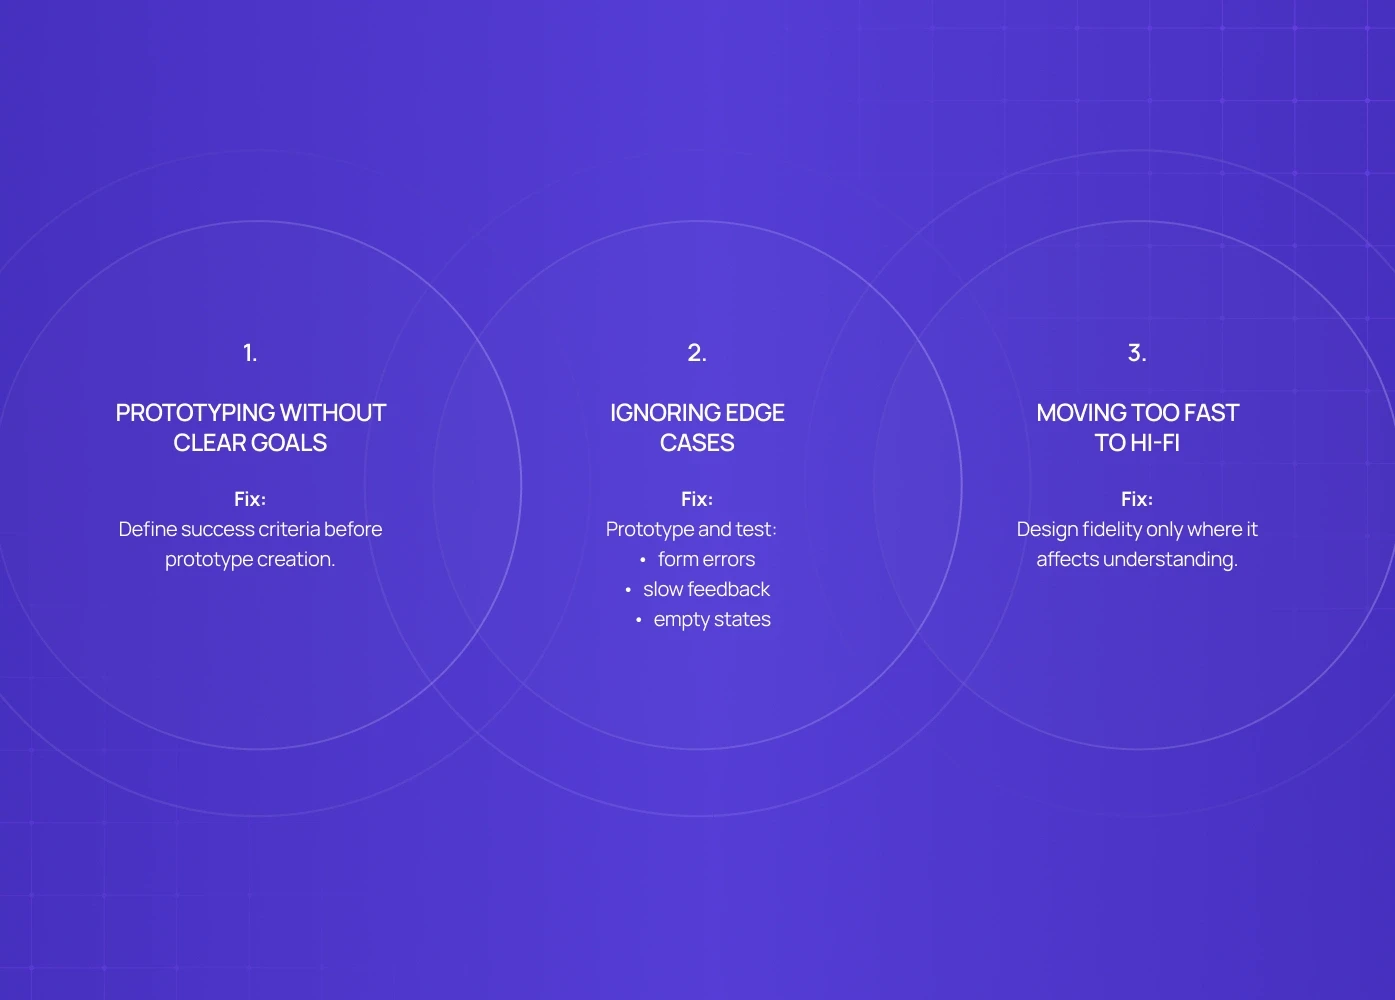
Here are three common pitfalls teams hit:
1. Prototyping Without Clear Goals
If you can’t state what you expect users to do with the prototype, the test won’t help you.
Fix: Define success criteria before prototype creation.
2. Ignoring Edge Cases
Users don’t only test “happy paths.”
Fix: Prototype and test:
form errors
slow feedback
empty states
3. Moving Too Fast to Hi-Fi
Jumping to full design before interaction clarity creates rework.
Fix: Design fidelity only where it affects understanding.
When It Makes Sense to Skip a Prototype
Yes, sometimes.
If:
you’re early in product discovery
the goal is strategy validation, not design validation
you’re still exploring problem space with users
Then you might stay at the wireframe level, conduct research, and iterate wireframes before prototyping.
But once your goal is to gauge intent, flow, or interaction, the prototype becomes essential.
Final Thought
Going from wireframe to prototype is a shift in lens:
From layout and intent to interaction and behavior.
Done right, this process reduces guesswork, increases confidence, and shortens product development cycles.
Approach it as a conversation with users - not a handoff to developers - and your prototypes will become powerful learning tools.
FAQs
1. What is the wireframe to prototype process?
It’s the structured transition from low-fidelity layout (wireframes) to interactive, testable simulations (prototypes), ensuring task validation before development.
2. Why not jump straight from wireframe to code?
Prototyping reveals interaction issues early. Code commits late and is harder to change.
3. Is a mockup the same as a prototype?
No. A mockup is a visual design artifact. A prototype simulates experience and interaction.
4. When should I prototype vs mockup?
Prototype when you want to test behavior. Mockup when you want to discuss visuals.
5. What tools are best?
Tools like Figma, Adobe XD, and Webflow support this process — and a full comparison of UX prototyping and design tools helps teams choose the right platform based on collaboration needs, fidelity requirements, and handoff workflow before committing to a toolchain.