The UX design process is a structured, cyclical methodology that guides teams from understanding user problems to launching and continuously improving digital products. It typically follows 8 stages: Empathize, Define, Research, Analyze, Design, Prototype, Test, and Launch & Iterate — each grounded in user data rather than assumptions.
The UX design process is a crucial methodology for creating user-centered products. Discover the steps and best practices in this comprehensive guide.

TL;DR — The UX Design Process at a Glance
Step | Goal | Key Output |
|---|---|---|
1. Empathize | Understand users deeply | Empathy maps, user interviews |
2. Define the Problem | Frame the right challenge | Problem statement, personas |
3. Research | Validate assumptions with data | Surveys, competitive analysis |
4. Analyze & Plan | Synthesize insights into direction | Journey maps, project roadmap |
5. Design the Solution | Create visual and interaction concepts | Wireframes, UI mockups |
6. Prototype | Build a testable model | Clickable prototype |
7. Test the Design | Validate with real users | Usability test reports |
8. Launch & Iterate | Ship and improve continuously | Live product, iteration backlog |
What Is UX Design?
UX design (User Experience Design) is the practice of creating products that provide meaningful, relevant, and enjoyable experiences to users. It encompasses every interaction a person has with a product — from the first click to the final action — and ensures that interaction feels effortless, logical, and satisfying. If you're new to the discipline, understanding what UI/UX design means at its core gives this methodology stronger footing before you begin.
UX design is not just about aesthetics. It is a discipline rooted in psychology, research, and systems thinking. A UX designer's core responsibility is to reduce friction and create clarity in how users navigate and use digital products.
The Difference Between UX Design and UI Design
UX and UI are frequently used interchangeably, but they refer to distinct disciplines:
Dimension | UX Design | UI Design |
|---|---|---|
Focus | How the product works and feels | How the product looks |
Outputs | User flows, wireframes, journey maps | Visual components, color systems, typography |
Primary concern | Usability and logic | Aesthetics and brand |
Tools | Figma (flows), Miro, UserTesting | Figma (components), Adobe XD, Sketch |
In practice, UX designers define the structure and logic of an interface, while UI designers apply the visual language to that structure. In many product teams, a single designer handles both, but in larger organizations these roles are separated.
What Does a UX Designer Actually Do?
A UX designer's daily responsibilities span research, strategy, and execution. Understanding the UX disciplines involved at each stage shows which specialist expertise is being drawn on at each phase — from information architecture in the planning stage through to accessibility and content design in the visual layer:
Conducting user research — interviews, surveys, and behavioral analysis
Defining the problem — translating user pain points into design briefs
Creating wireframes and prototypes — from low-fidelity sketches to interactive models
Running usability tests — observing real users and identifying friction points
Collaborating across teams — aligning developers, PMs, and stakeholders on design decisions
Iterating continuously — refining the product post-launch based on data
Why Is the UX Design Process Important?
A structured UX design process is not a formality — it is the mechanism that converts user insights into business outcomes. Understanding the types of UX design methodologies available gives you the context to choose which approach fits your team's stage, product type, and research maturity before committing to a framework. Here is why skipping or compressing the process is consistently a costly mistake.
What Happens When Teams Skip the Process
Teams that skip structured UX methodology tend to experience:
Expensive rework: Features built on assumptions rather than research often need to be rebuilt — sometimes entirely — after user feedback reveals the solution missed the mark
Low user adoption: Products that aren't tested with real users frequently fail to resonate, leading to high drop-off rates and low engagement
Extended timelines: Undiscovered issues surface during development or after launch, extending delivery windows and increasing cost
How a Structured Process Reduces Rework and Cost
Following a defined UX process front-loads discovery. Problems surfaced in research or testing cost a fraction of what they cost to fix after development. Specifically:
A usability issue caught in prototyping costs ~10x less to fix than one caught after launch
Companies with mature UX practices report up to 228% ROI on UX investment (Forrester Research)
Reduced support volume is one of the most measurable outcomes — intuitive products generate fewer customer support tickets
Learn more about calculating the ROI of UX design methods and metrics to understand the full financial case for investing in a structured process.
Business impact metrics to track:
Conversion rate improvement
Task completion rate
Time-on-task (efficiency)
Net Promoter Score (NPS)
Support ticket volume reduction
The structured steps in UX design also create a shared framework — but that framework needs a strategic layer to hold it together. Creating a UX strategy for your product shows how to align designers, developers, product managers, and stakeholders around common goals before a single wireframe is drawn.
UX Design Process vs Design Thinking — What Is the Difference?
This is one of the most common points of confusion in the field. Both frameworks are human-centered, iterative, and research-driven — but they serve different purposes.
Where the Two Frameworks Overlap
Attribute | UX Design Process | Design Thinking |
|---|---|---|
Origin | Product/software design | IDEO, Stanford d.school |
Scope | Digital product development | Broad problem-solving (any domain) |
Stages | 8 steps (Empathize → Iterate) | 5 stages (Empathize, Define, Ideate, Prototype, Test) |
Primary use | Ongoing product design cycles | Innovation and idea generation sprints |
Iteration | Continuous post-launch | Often time-boxed to a sprint |
When to Use Design Thinking vs a Standard UX Process
Use Design Thinking when:
You are at the very start of a product and need to explore the problem space broadly
You are running a workshop or sprint with cross-functional stakeholders
The challenge is ambiguous and you need to generate multiple competing ideas before committing
Use the UX Design Process when:
You have a defined product to build or improve
You are working within a product development cycle with engineering timelines
You need a repeatable, scalable methodology across a team or organization
In many organizations, Design Thinking is used to generate the initial problem framing, and the UX Design Process picks up from there to execute the solution.
The 8-Step UX Design Process
Step 1: Empathize — Understand Your Users
Empathy is the foundation of the entire UX design process. Before defining any problem or exploring any solution, the designer's first obligation is to deeply understand the people who will use the product — their motivations, frustrations, mental models, and daily contexts.
This step is inspired by the Stanford d.school Design Thinking framework, where Empathize precedes Define. It is the most widely recognized starting point in modern UX methodology.
Key Activities
Contextual interviews: Talk to real users in their natural environment — at work, at home, or in the context where they'd use the product
Empathy mapping: Document what users Say, Think, Do, and Feel to surface unspoken needs
Shadowing and observation: Watch how users currently solve the problem without your product
Diary studies: Ask users to log their experiences over time, revealing behaviors that interviews miss
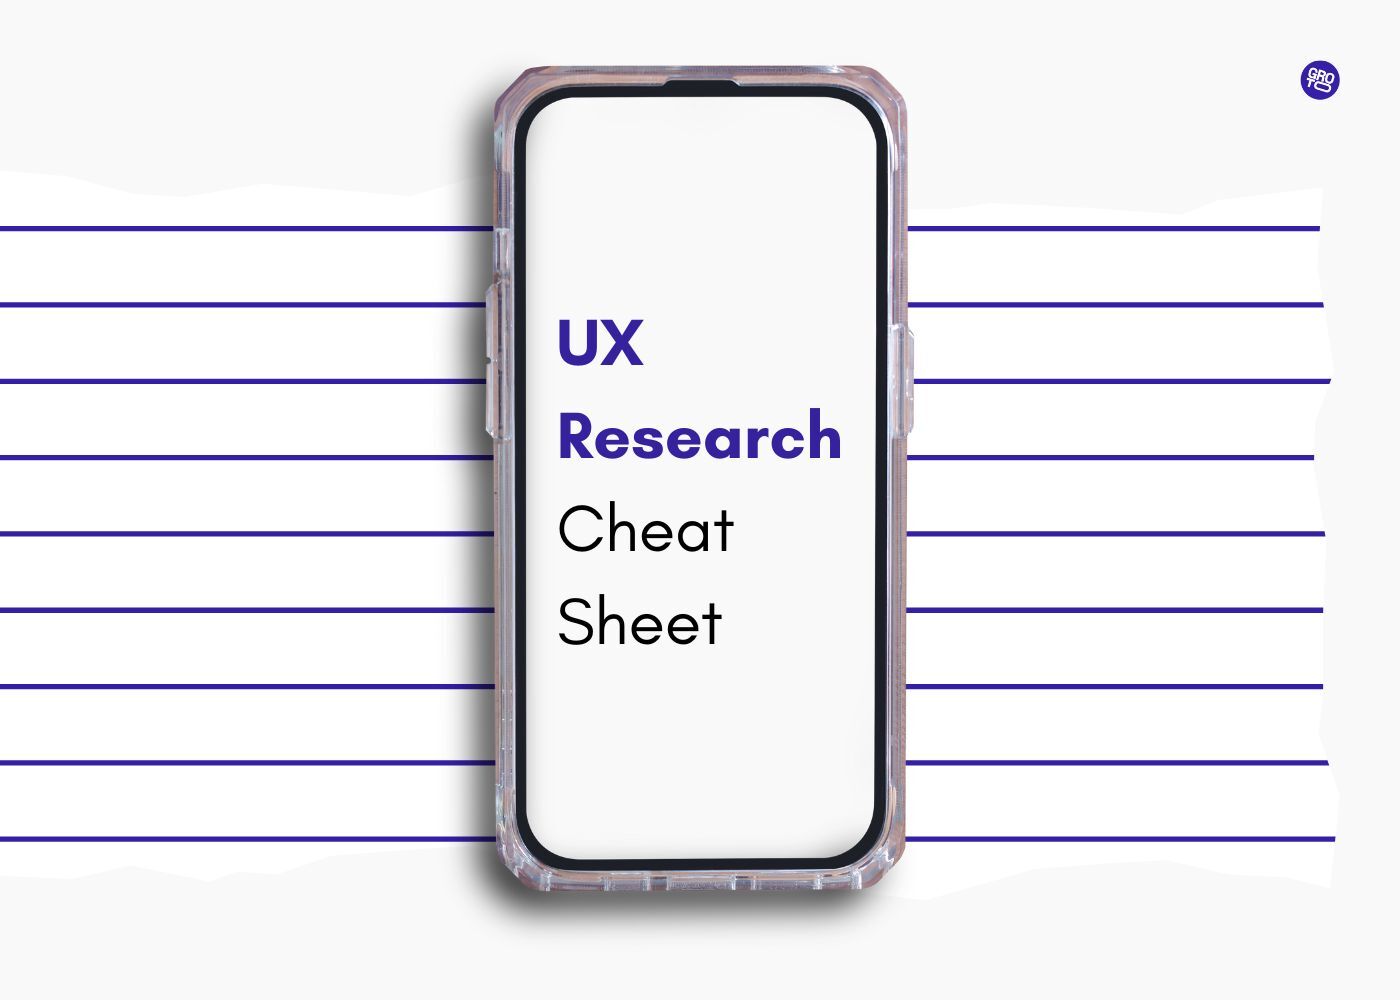
For a condensed reference for running each research method efficiently, the quick-reference UX research guide gives you frameworks, question templates, and analysis shortcuts in one place.
Real Example
A team designing a hospital appointment booking system spent two days shadowing patients at a clinic. They observed that users frequently called the helpline not because the online system was broken, but because they didn't trust it. No amount of competitive analysis would have surfaced that insight. The design solution — adding real-time confirmation messages at every step — came directly from that observation.
Common Mistake to Avoid
Rushing to solutions before empathy is complete. Designers with product opinions often enter the empathy phase looking to confirm what they already believe. The goal is not to validate your assumptions — it is to be genuinely surprised by what users tell you.
Step 2: Define the Problem
With empathy data gathered, the next step is to synthesize it into a clear, actionable problem statement. This is where insights become direction.
A well-formed problem statement does three things: it identifies who the user is, what they need, and why that need exists. A useful format is the "How Might We" (HMW) question, widely used across UX and product teams.
Key Activities
Synthesize empathy data: Group observations into patterns and themes
Write a problem statement: Use the format — [User] needs [need] because [insight]
Develop user personas: Create detailed profiles of your target users with goals, behaviors, and frustrations
Stakeholder alignment: Share the problem framing with leadership and development before moving forward
Real Example
For a food delivery app, the empathy phase reveals that "Busy Professionals" frequently abandon orders not because of price, but because searching for a restaurant on a time-limited lunch break takes too long. The problem statement becomes: "Busy professionals need to complete a food order in under 90 seconds because they have limited time during work breaks." Every design decision from this point forward is tested against that constraint.
Common Mistake to Avoid
Defining the problem too broadly. "Users want a better experience" is not a problem statement — it is a wish. Specificity is what makes a problem statement useful.
Step 3: Research — Validate Assumptions with Data
Research is the mechanism by which the UX design process replaces guesswork with evidence. Even when the problem is well-defined, the specific causes and the best solutions must be validated with real data before investing in design.
Key Activities
User interviews: Conduct in-depth 1:1 sessions to understand motivations and pain points in detail
Surveys and questionnaires: Gather quantitative patterns from a larger sample
Competitive analysis: Evaluate existing products to identify what works, what fails, and where gaps exist
Analytics review: For products with an existing user base, behavioral data (session recordings, funnel drops, heatmaps) often reveals what interviews cannot
Real Example
For the food delivery app, competitive analysis of Uber Eats and DoorDash reveals that neither offers a "quick reorder" feature surfaced prominently on the home screen. User interviews confirm this is something frequent users want. That gap becomes a design opportunity — a feature that differentiates the new product without requiring complex development.
Common Mistake to Avoid
Treating research as a one-time phase. Research is most valuable when it continues throughout the product lifecycle. Post-launch analytics and feedback should feed back into the empathy and research steps continuously.
Step 4: Analyze and Plan
Once research data is collected, it must be synthesized into a strategic direction. The analyze and plan phase converts raw findings into prioritized design decisions and a project roadmap.
Key Activities
Affinity mapping: Group research insights into themes to identify patterns at scale
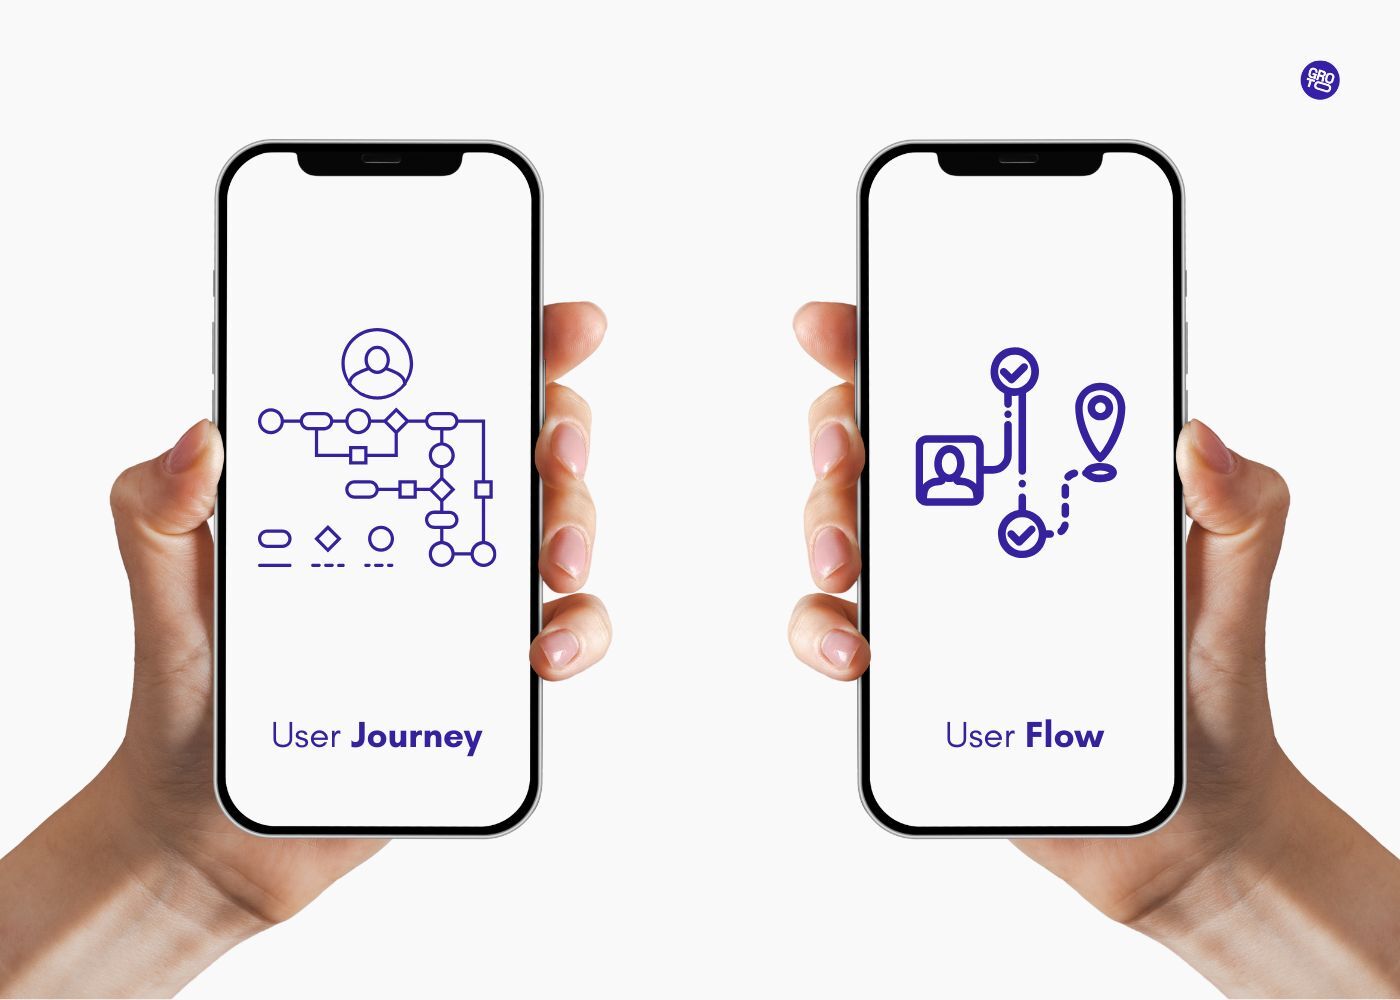
User journey mapping: Visualize the end-to-end experience a user has with the product, including touchpoints, emotions, and friction points — learn more about user journey vs user flow to understand how to map user interactions effectively
Prioritization framework: Use impact vs. effort matrices to rank which problems to solve first
Project milestones: Define deliverables and timelines for each subsequent phase
Real Example
Journey mapping the food delivery app reveals a critical drop-off point at checkout — specifically at the payment entry screen. Users who reach this point abandon at a rate of 34%. The team prioritizes simplifying the payment flow above all other design tasks in the next sprint.
Common Mistake to Avoid
Skipping the journey map. Teams that jump from research directly to wireframing often miss systemic issues that only appear when the full user journey is visualized.
Step 5: Design the Solution
With a clear direction established, the design phase translates strategy into tangible artifacts — from rough sketches to polished UI mockups. This is where ideas become visible.
Key Activities
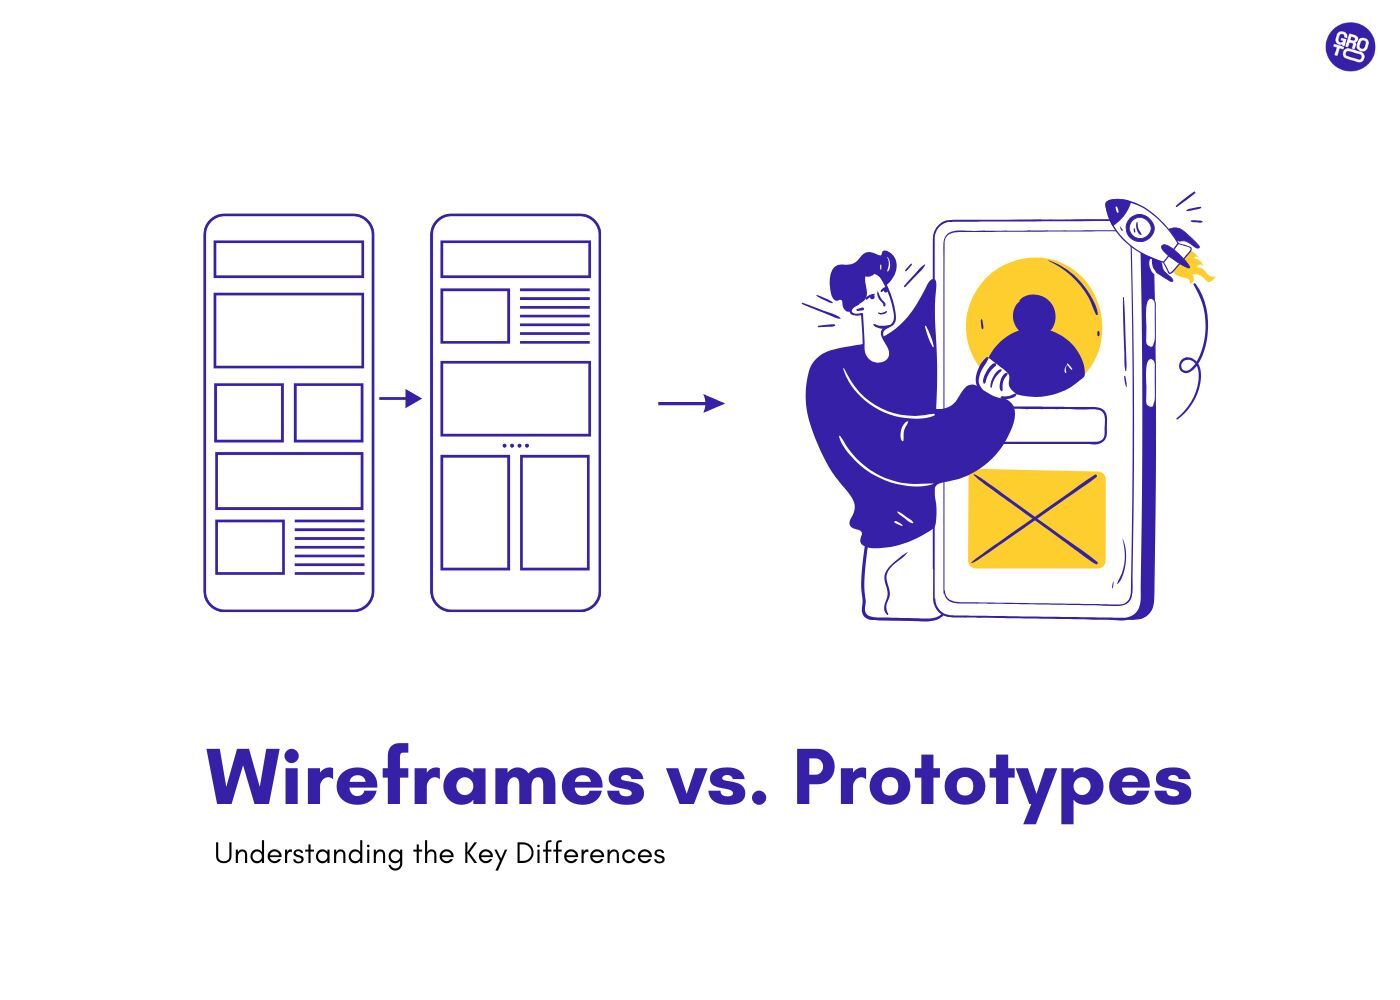
Low-fidelity wireframing: Sketch the layout and structure of key screens without visual polish — the goal is speed and flexibility. Understanding wireframes vs prototypes in UX design is crucial for knowing which tool to reach for at each stage
High-fidelity mockups: Develop pixel-accurate designs that incorporate the brand's visual system, typography, color, and iconography. For detailed guidance, explore high-fidelity wireframes and how to use them right
Interaction design: Define how the product responds to user actions — hover states, transitions, form validation, error states
Design system alignment: Ensure components are consistent with an existing or new design system
Real Example
For the food delivery app, wireframes prioritize the three highest-friction screens identified in journey mapping: the search screen, restaurant listing, and checkout. The checkout wireframe is tested in five variations before moving to high fidelity — each variation addresses a different hypothesis about why users abandon at payment.
Common Mistake to Avoid
Starting with high fidelity too early. Polished designs create psychological commitment — both in the designer and in stakeholders. Low-fidelity wireframes allow faster iteration and more honest feedback.
Step 6: Prototype
A prototype is a testable simulation of the design. It can range from a paper sketch to a fully interactive digital model, depending on what decisions need to be validated. Turning wireframes into testable prototypes gives you the exact transition steps so nothing falls through the gap between static screens and interactive testing models.
Key Activities
Build clickable prototypes: Connect wireframes or mockups into interactive flows using tools like Figma, InVision, or Framer
Focus on critical paths: Prioritize the user flows with the highest risk or uncertainty, not the entire product
Stakeholder walkthroughs: Use prototypes to align leadership and developers before committing to build
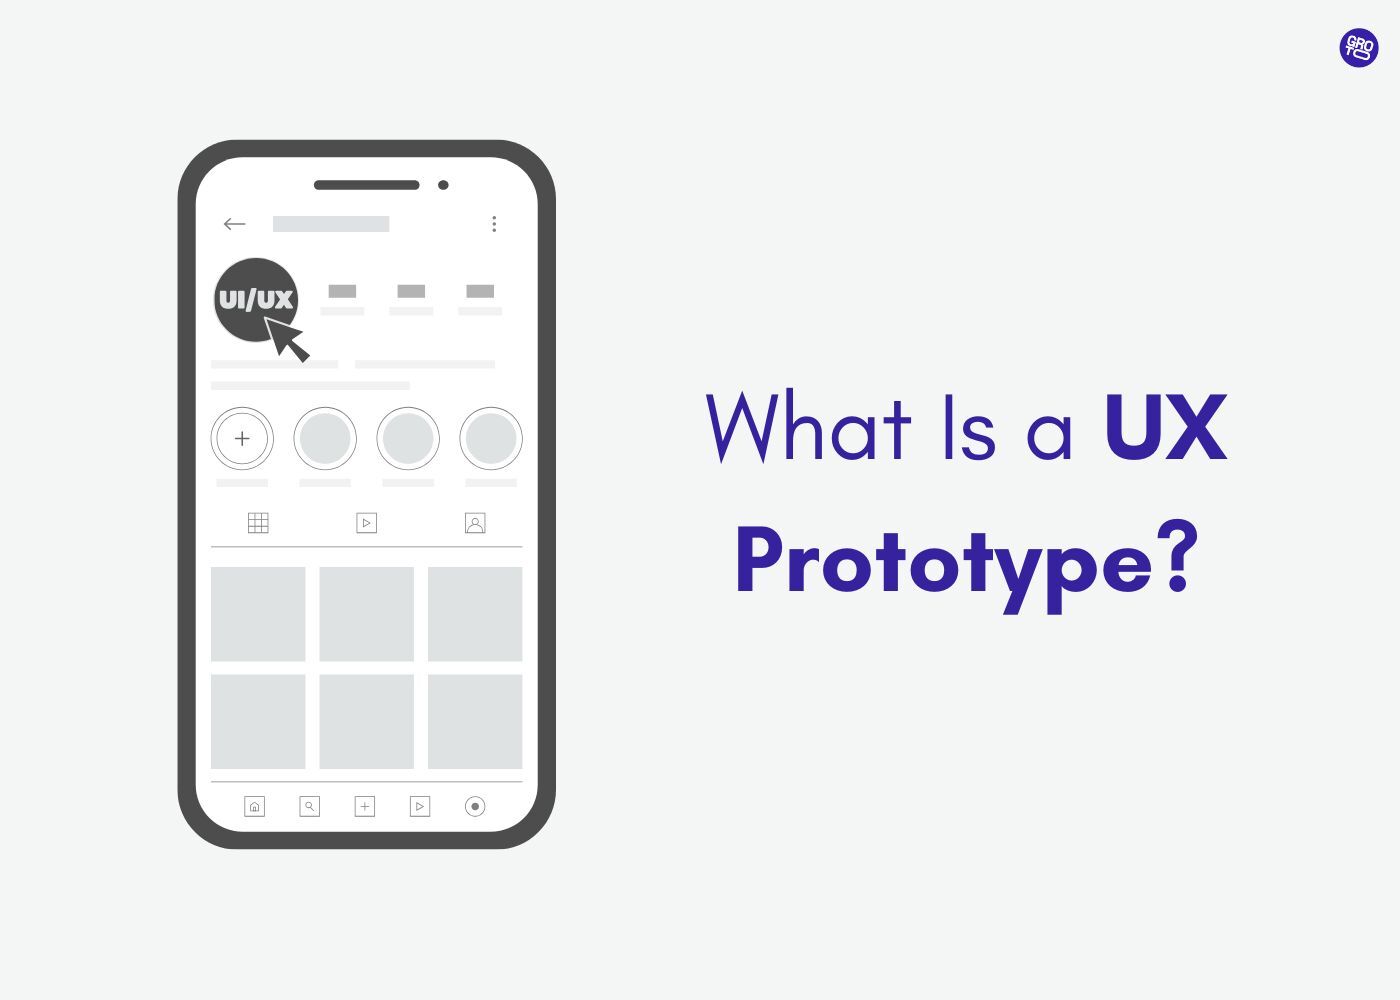
Learn more about what is a UX prototype, benefits, tools and best practices to master this crucial phase of the UX design process.
Real Example
The food delivery app prototype covers three core flows: searching for a restaurant, filtering by cuisine and delivery time, and completing checkout. Users can tap through the prototype on a mobile device — simulating the real experience without a single line of code being written.
Common Mistake to Avoid
Over-engineering the prototype. A prototype's purpose is to answer specific design questions quickly. The more polished it becomes, the harder it is to change when testing reveals it needs to.
Step 7: Test the Design
Usability testing is where the design meets reality. Real users interact with the prototype under observation, and their behavior — not their opinions — reveals what is working and what is not. For comprehensive evaluation methods, explore how to do a UX audit: steps and tools to use.
Key Activities
Moderated usability sessions: A facilitator guides users through tasks while observing and asking follow-up questions
Unmoderated remote testing: Users complete tasks independently, recorded via tools like Maze or UserTesting.com
Quantitative metrics: Task completion rate, time-on-task, error rate
Qualitative observation: Verbal feedback, hesitation patterns, expressions of confusion or frustration
Real Example
Testing the food delivery app prototype with 8 users reveals that the filter interface is not discoverable — 6 of 8 users miss it entirely on the first attempt. This is a critical finding that would have gone undetected until post-launch without testing. The filter is repositioned to a persistent toolbar, and a follow-up test with 5 users confirms the fix works.
Common Mistake to Avoid
Testing with too few users, or testing with internal team members. Nielsen Norman Group research shows that 5 users will uncover approximately 85% of usability issues in a product. Internal testers, however familiar they are with the product, will miss issues that a fresh user encounters immediately.
Step 8: Launch and Iterate Continuously
The launch is not the finish line — it is the beginning of a new research cycle. Real-world usage generates behavioral data that no prototype or usability test can fully replicate.
Key Activities
Staged rollout: Release to a subset of users first to catch critical issues before full deployment
Analytics instrumentation: Ensure tracking is in place to monitor user behavior from day one — funnel completion, session length, feature adoption
Feedback collection: Use in-app surveys, app store reviews, and support ticket analysis to gather qualitative post-launch data
Iteration backlog: Log all post-launch findings and prioritize them for the next design cycle. When you need a structured diagnostic to identify exactly where the experience is breaking down, the UX audit steps and tools guide gives you a repeatable framework for turning post-launch data into prioritized improvement actions
Real Example
Post-launch analytics for the food delivery app reveal that 22% of users view the "Order History" screen but only 4% use the reorder button. An in-app survey reveals users don't trust the reorder function to capture updated pricing. The next iteration adds a real-time price confirmation step before reordering, reducing the gap between views and actions.
Common Mistake to Avoid
Treating the launch as the end. Products that stop iterating after launch quickly become outdated. The most successful digital products treat iteration as a permanent operating mode, not a phase with a completion date.
Lean UX — An Iterative Alternative to the Linear Process
Lean UX is an approach to UX design that prioritizes rapid experimentation over comprehensive documentation. It emerged from Lean Startup and Agile methodologies and is particularly suited to fast-moving product teams where speed of learning is more valuable than depth of process.
What Lean UX Is and Where It Came From
Lean UX was formalized by Jeff Gothelf and Josh Seiden in their 2013 book Lean UX: Applying Lean Principles to Improve User Experience. It shifts the design team's focus from deliverables (wireframes, specs, documentation) to outcomes (user behavior change, business metrics).
Its three core principles are:
Think — Form a hypothesis about what users need
Make — Build the smallest possible version to test it
Check — Measure the result and use it to inform the next cycle
How Lean UX Compresses the 8 Steps into Faster Cycles
Rather than completing all 8 steps sequentially before shipping, Lean UX runs compressed cycles:
Full 8-Step Process | Lean UX Equivalent |
|---|---|
Empathize + Define | Assumption mapping + problem hypothesis |
Research | Minimum viable research (2–5 user interviews) |
Analyze + Design | Collaborative design studio (1–2 hour session) |
Prototype + Test | Low-fidelity test with 3–5 users |
Launch | Ship the smallest testable version |
Iterate | Repeat the cycle within 1–2 week sprints |
When to Use Lean UX vs a Full UX Process
Use Lean UX when:
You are working in a fast-paced startup environment where speed of learning is the priority
You have short sprint cycles (1–2 weeks) and cannot afford multi-week research phases
Your team is small and cross-functional (designer + developer + PM in the same room)
Use the full 8-step UX process when:
The product has significant safety, legal, or accessibility implications
You are building a new product from scratch and need deep problem validation
You are working in a large enterprise with multiple stakeholder groups who need alignment
How the UX Design Process Has Evolved
From Waterfall to Agile Methodology
Traditional UX design followed a waterfall model — each phase was completed and signed off before the next began. This approach works well for projects with highly stable requirements, but breaks down in digital product development where user needs shift rapidly.
Modern teams use Agile UX, embedding design work within two-week sprints and running research, design, and testing in parallel with development rather than sequentially before it.
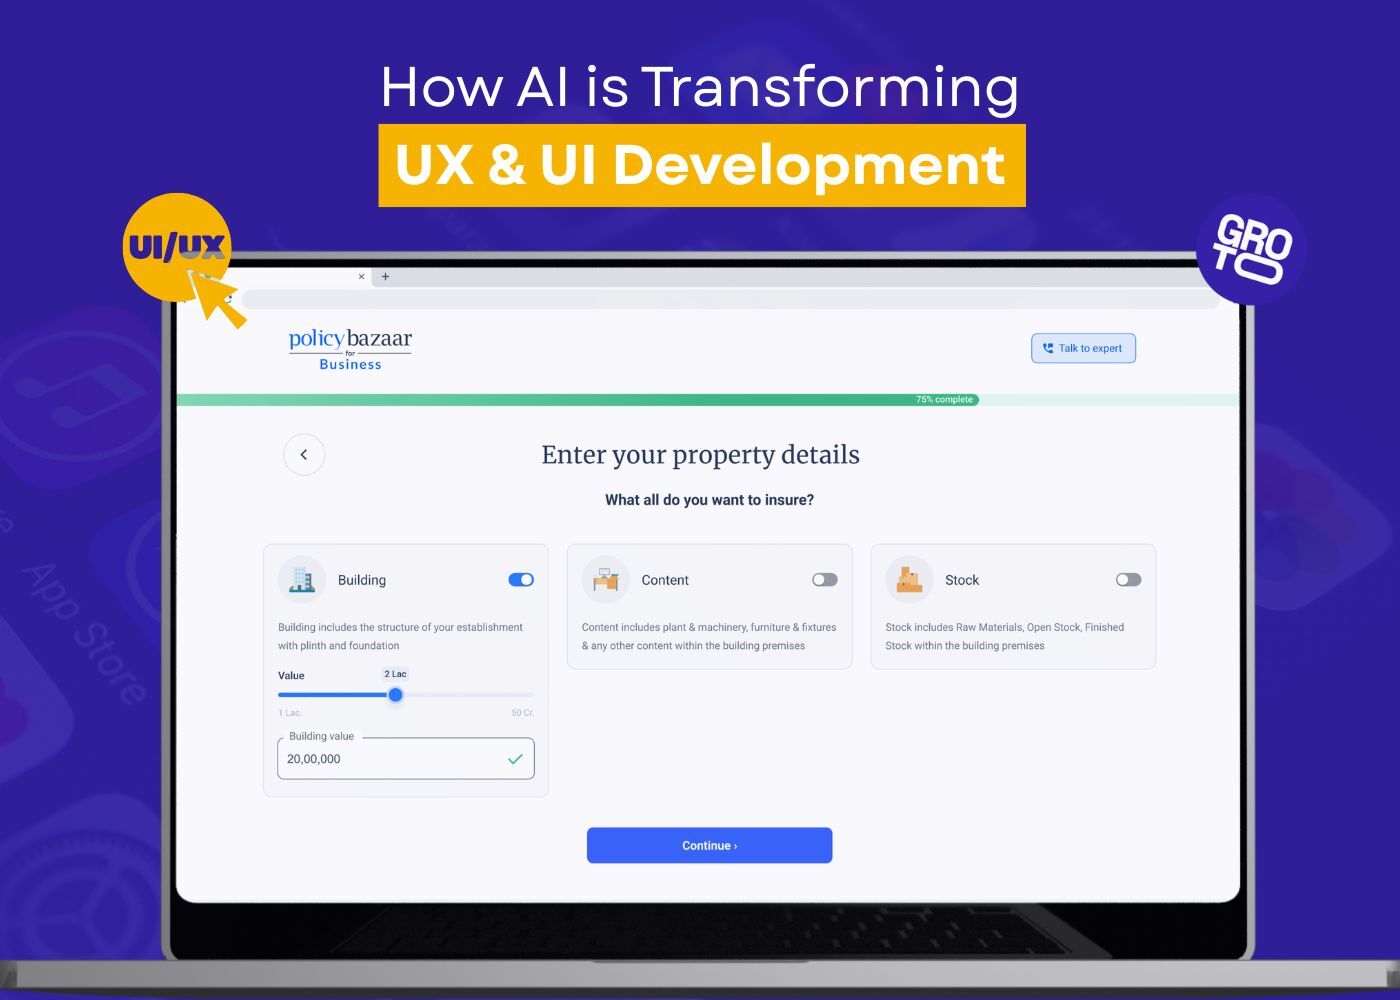
Integration of AI and Data Analytics
AI is now embedded in multiple stages of the UX design process. Learn more about how AI is transforming UX/UI development and integrating AI into SaaS UX best practices:
Research: AI tools analyze large volumes of user feedback, session recordings, and support tickets to surface patterns faster than manual review
Design: Generative AI tools assist in producing wireframe variations and UI component suggestions
Testing: Automated testing tools can simulate user behavior at scale, supplementing moderated usability sessions
AI does not replace UX designers — it accelerates the research and iteration loops that define the process.
Emphasis on Accessibility and Inclusion
Modern UX practice treats accessibility (meeting WCAG 2.1 standards) and inclusive design (designing for the broadest range of users, including those with disabilities, low digital literacy, and non-native language speakers) as baseline requirements, not enhancements. Understanding the importance of accessibility in UI/UX design is now fundamental to effective UX practice.
Accessible products reach more users, reduce legal risk, and consistently outperform inaccessible alternatives in usability testing across all user groups — not just those with disabilities.
Remote Collaboration and Distributed Design Teams
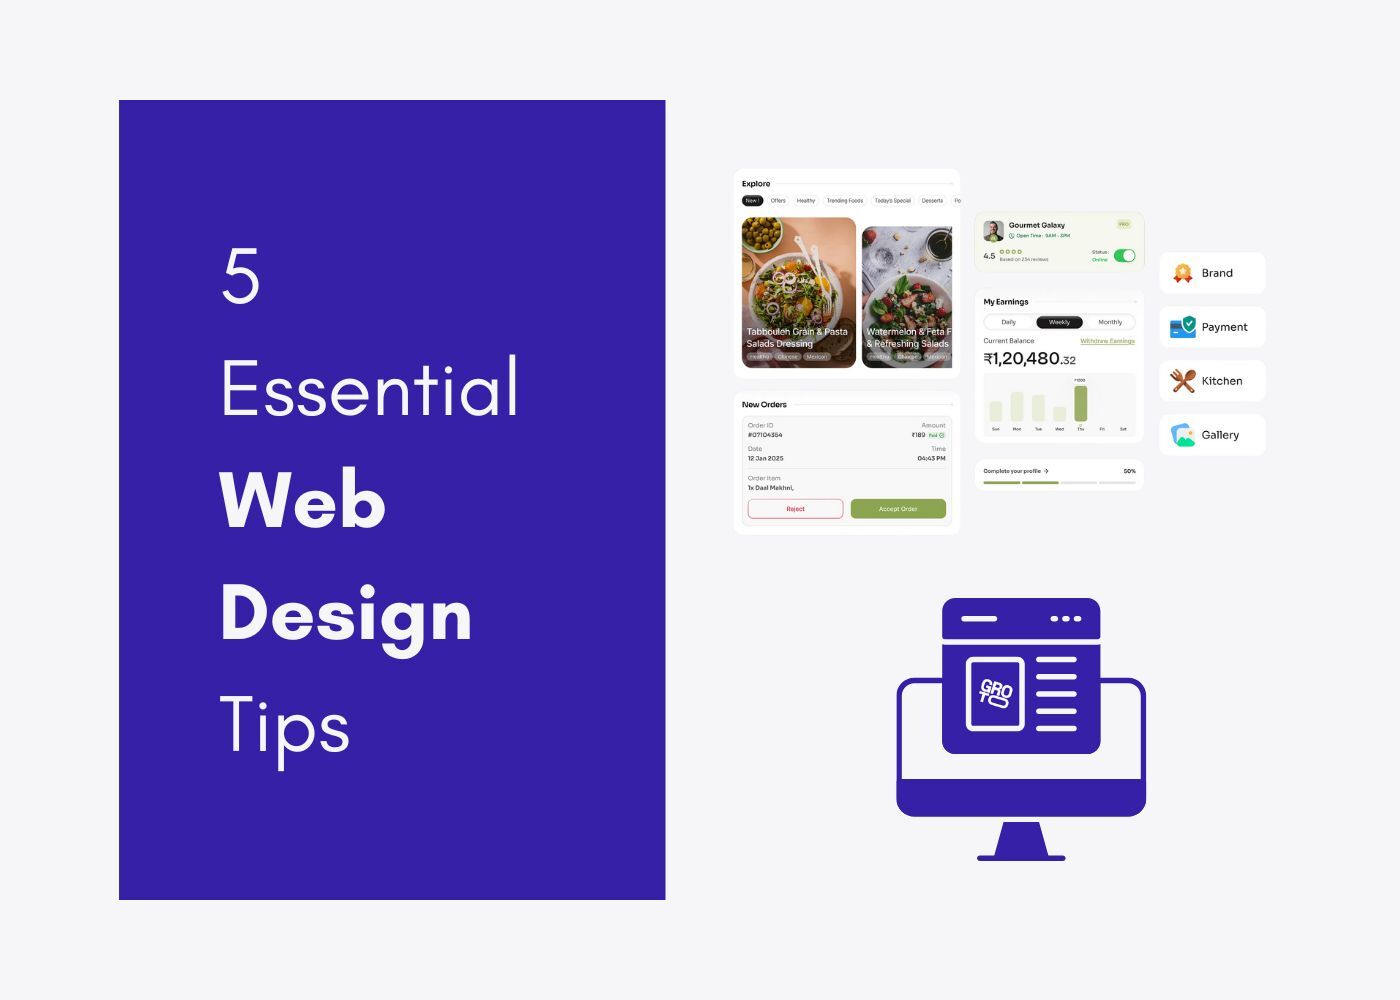
The shift to distributed teams has driven adoption of collaborative design tools that allow real-time co-design across geographies. Figma's multiplayer editing, Miro's virtual whiteboarding, and Notion's documentation capabilities have become standard infrastructure for modern UX teams. Explore the best UX design tools and free UI/UX design tools for beginners to understand the modern toolkit.
What Roles Are Involved in the UX Design Process?
A UX design process rarely involves just one person. Here is who contributes at each stage and what they own:
UX Researcher
Primary stages: Empathize, Research, Test
Designing and conducting user research, synthesizing findings, running usability tests, and reporting insights to the broader team.
UX Designer
Primary stages: Define, Analyze, Design, Prototype
Translating research into wireframes, interaction models, and design specifications. The UX designer is the bridge between user insight and product execution.
UI Designer
Primary stages: Design, Prototype
Applying visual design principles — color, typography, iconography, spacing — to the structures defined by the UX designer. Maintains and extends the design system.
Product Manager
Primary stages: Define, Analyze, Launch
Defining business requirements, prioritizing features, aligning stakeholders, and managing the product roadmap. The PM ensures design decisions serve both user needs and business objectives.
Developer — Where They Enter the Process
Primary stages: Prototype, Launch, Iterate
Translating design specifications into working code. In modern Agile teams, developers are ideally involved from the wireframing stage — early developer input surfaces technical constraints before they become design problems.
Seven Key UX Design Principles Every Process Should Follow
These principles apply across every step of the UX design process. They are not optional enhancements — they are the criteria against which every design decision should be measured.
1. User-Centricity Above All Else
Every design decision must be traceable back to a user need, a user behavior, or a user insight. If you cannot answer "which user research finding supports this decision?", the decision is not user-centered.
2. Consistency Across Every Interaction
Users build mental models of how a product works. Inconsistency — in terminology, visual patterns, interaction behaviors — breaks those models and forces users to relearn the interface constantly.
3. Accessibility as a Baseline, Not an Afterthought
Design for WCAG 2.1 AA compliance from the first wireframe. Retrofitting accessibility onto a finished design is significantly more expensive and rarely achieves the same quality as accessibility baked in from the start.
4. Hierarchy That Guides Without Overwhelming
Visual hierarchy — the arrangement of elements by importance — guides users through an interface without requiring them to think about what to do next. Poor hierarchy forces conscious decision-making at every step, which is experienced as cognitive overload.
5. Feedback for Every User Action
Users need to know the system heard them. Every action — a button click, a form submission, a file upload — should produce immediate, visible feedback. Silent systems generate anxiety and repeated actions.
6. Simplicity Over Feature Density
Adding features increases complexity. Every feature added to a product is a feature that every user must mentally process, even if they never use it. The most usable products solve one problem exceptionally well rather than many problems adequately.
7. Iteration as a Permanent State, Not a Phase
The best UX is never finished. Users change, contexts evolve, and technology shifts. Teams that treat iteration as a permanent mode of operation consistently outperform those who treat it as a post-launch cleanup task.
Tools UX Designers Use at Each Stage
Research and Empathy — Tools
Interviews & surveys: Typeform, Google Forms, Dovetail
Session recording: Hotjar, FullStory, Microsoft Clarity
Behavioral analytics: Mixpanel, Amplitude, Google Analytics 4
Wireframing and Design — Tools
Wireframing: Figma, Balsamiq, Whimsical
High-fidelity design: Figma, Adobe XD, Sketch — see our full comparison of Figma vs Sketch vs Adobe XD to choose the best platform for your team
Design systems: Figma component libraries, Storybook
Prototyping — Tools
Interactive prototyping: Figma Prototyping, InVision, Framer, ProtoPie
Low-fidelity flows: Marvel, Whimsical, Miro
Testing and Feedback — Tools
Moderated testing: Lookback, Zoom + screen share
Unmoderated testing: Maze, UserTesting.com, Optimal Workshop
Card sorting & IA: Optimal Workshop, Maze
Handoff and Documentation — Tools
Design handoff: Figma Inspect, Zeplin
Documentation: Confluence, Notion
Version control: Abstract, Figma branching
How to Apply the UX Design Process in the Real World
Start with Stakeholder Buy-in
Secure leadership support by connecting UX process outcomes to business metrics leadership already cares about — conversion rate, support volume, retention. Frame the UX process as risk reduction, not a creative preference. Use data from successful case studies and demonstrate the cost savings of preventing design mistakes early in the process.
Build Cross-Functional Collaboration from Day One
The most effective UX teams are embedded within product squads — not siloed in a separate design department. Daily stand-ups, shared project management tools, and co-located (or video-first) working sessions reduce handoff friction and keep design and development aligned.
Create Reusable Templates and Documentation
Standardize your process with templates for:
User interview guides
Usability test scripts
Affinity mapping sessions
Journey mapping workshops
Design critique frameworks
Templates reduce setup time for each new project and create organizational memory that survives team turnover.
Measure and Communicate Design Impact
Track before-and-after metrics for every major design change:
Task completion rate (pre/post redesign)
Conversion rate at key funnel steps
Time-on-task
Net Promoter Score
Support ticket volume by feature area
Communicate these metrics in a format that leadership can act on — not design jargon, but business outcomes.
Key Takeaways
The UX design process is an 8-step, cyclical methodology — not a linear checklist — that moves from Empathize through to Launch and continuous Iteration
Empathy precedes definition: Understanding users before framing problems ensures the right problems are being solved
UX design and UI design are distinct disciplines — UX defines structure and logic; UI defines visual language
Design Thinking and the UX design process overlap but serve different purposes — Design Thinking for problem exploration, UX process for product execution
Lean UX compresses the 8 steps into rapid cycles suitable for fast-moving product teams
The seven UX design principles — user-centricity, consistency, accessibility, hierarchy, feedback, simplicity, and iteration — apply across every phase
AI is accelerating research and iteration loops but does not replace the human judgment at the core of UX practice
Iteration after launch is not optional — it is the mechanism by which products stay aligned with evolving user needs